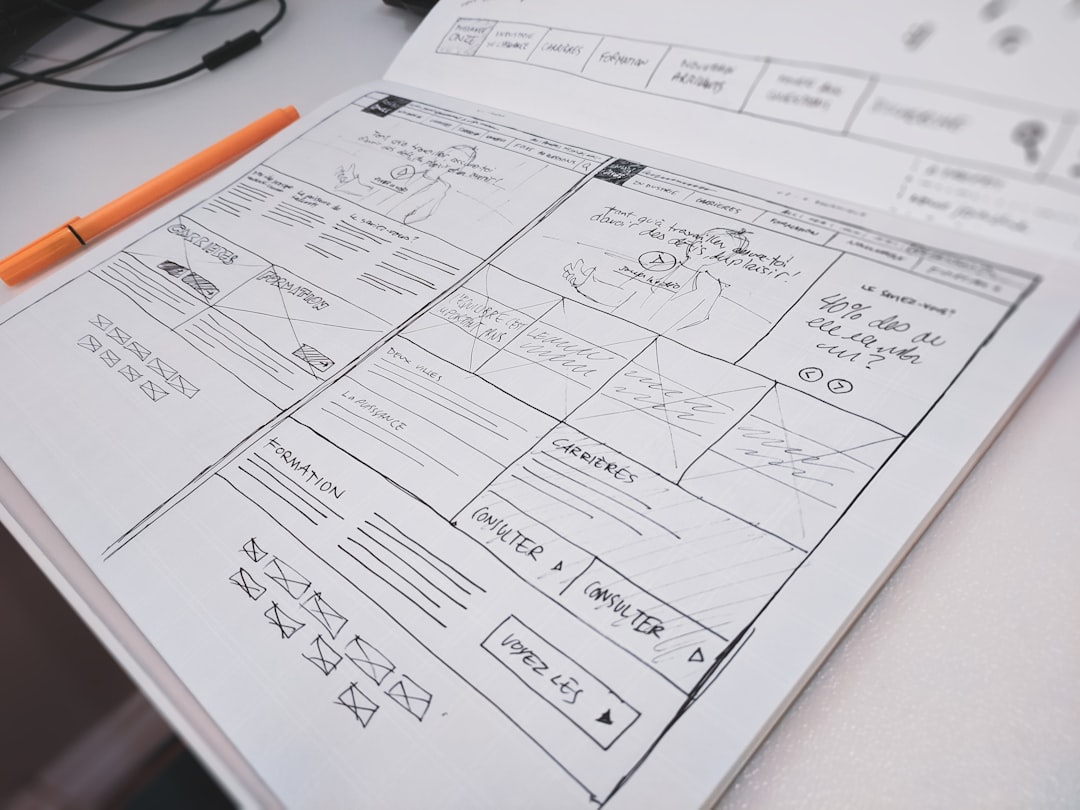
How to Build a Client Dashboard in Notion (Free)
If you’re a freelancer running your client work across a combination of email threads, spreadsheets, sticky notes, and memory — you’re not disorganized, you just don’t have a system yet. The right system doesn’t need to be complex or expensive. Notion’s free plan gives you everything required to build a client dashboard that rivals what agencies charge thousands of dollars for, and once it’s built you open it every morning instead of hunting through five different places to understand what your day looks like. This guide builds it with you, step by step, from a blank Notion workspace to a fully operational freelancer command center.
Why Notion Is the Right Tool for a Freelancer Client Dashboard
Before getting into the build, it’s worth being clear about why Notion specifically — because ClickUp, Airtable, and Monday.com all offer similar functionality and come up in these comparisons regularly.
Notion wins for freelancer client dashboards for three specific reasons:
- Free plan is genuinely unlimited for solo users — no record caps, no page limits, no feature walls that require an upgrade before you experience the value
- Database + document hybrid — client notes, meeting summaries, briefs, and project files all live alongside your structured data in the same workspace, not in a separate linked tool
- Shareable pages for clients — you can share individual Notion pages with clients as read-only portals without them needing a Notion account, giving you a professional client-facing view at no extra cost
If your workflow is primarily task-heavy with recurring assignments and time tracking, ClickUp’s solopreneur system may serve you better. If your work is database-driven — managing large client directories or complex relational data — the Airtable templates for small business guide covers that approach. For most freelancers who need a flexible, document-aware client operating system, Notion is the right foundation.
The Architecture: Three Databases, One Dashboard
A well-built Notion client dashboard uses linked databases rather than flat pages. This means your data lives in three core databases, and your dashboard page is a collection of filtered views that display that data in the format you need — without duplicating anything.
The three core databases:
- Clients Database — one record per client, containing contact info, status, contract details, and linked projects
- Projects Database — one record per project or engagement, linked to the client it belongs to, with status, deadlines, and deliverables
- Payments Database — one record per invoice, linked to the relevant client and project, with amount, due date, and payment status
These three databases link to each other using Notion’s relation properties — so from any client record, you can see their projects; from any project, you can see the associated invoices; from any invoice, you can trace back to the client. The dashboard page then surfaces filtered views of each database — “Active Projects Due This Week,” “Unpaid Invoices Over 14 Days,” “Clients in Onboarding” — giving you the operational visibility you need without navigating between separate pages.
Step 1: Create Your Clients Database
In Notion, click the “+” in your sidebar to create a new page, title it “Clients,” and select “Table” as the view type. This creates your first database.
Properties to add to your Clients database:
- Client Name (Title field — the default, rename it)
- Status (Select: Active / Onboarding / Paused / Completed / Prospect)
- Primary Contact (Text field — name of your main contact)
- Contact Email (Email field)
- Monthly Retainer (Number field, formatted as currency)
- Contract Start Date (Date field)
- Contract End Date (Date field)
- Notes (Text field — or use the page body for longer notes)
- Projects (Relation — you’ll link this to the Projects database in Step 2)
- Payments (Relation — you’ll link this to the Payments database in Step 3)
Add a Kanban view to this database grouped by Status. This gives you a visual overview of where every client sits in your relationship pipeline — useful during your weekly review to see at a glance how many active clients you have versus prospects versus completed engagements.
Step 2: Create Your Projects Database
Create another new page titled “Projects” and select “Table” view. This database tracks every active engagement, deliverable, and deadline.
Properties to add to your Projects database:
- Project Name (Title field)
- Client (Relation — link to your Clients database)
- Status (Select: Not Started / In Progress / In Review / Delivered / Invoiced / Completed)
- Start Date (Date field)
- Deadline (Date field)
- Project Value (Number field, formatted as currency)
- Type (Select: Retainer / One-Time / Revision / Rush)
- Priority (Select: High / Medium / Low)
- Payments (Relation — link to your Payments database)
Add three views to this database:
- Board view grouped by Status — your main project pipeline view
- Calendar view by Deadline — so you see what’s due when at a monthly glance
- Table view filtered by Status = In Progress — your active work list
Step 3: Create Your Payments Database
Create a new page titled “Payments” with Table view. This database replaces the invoice tracking spreadsheet most freelancers run alongside everything else.
Properties to add to your Payments database:
- Invoice Name (Title field — e.g., “Acme Co — April Retainer”)
- Client (Relation — link to your Clients database)
- Project (Relation — link to your Projects database)
- Amount (Number field, formatted as currency)
- Invoice Date (Date field)
- Due Date (Date field)
- Payment Status (Select: Draft / Sent / Overdue / Paid)
- Payment Received Date (Date field — fill in when payment arrives)
- Notes (Text field — for partial payments, disputes, or context)
Add a filtered view showing only records where Payment Status = Sent or Overdue. This becomes your “Money Owed” view — the first thing to check each Monday morning.
Step 4: Build the Master Dashboard Page
Now that your three databases exist, build the dashboard that makes them usable together. Create a new Notion page titled “Client Dashboard” — this is your home base.
Structure the dashboard page with these sections, each containing a linked view from the relevant database:
Section 1: Today’s Priorities
Insert a linked view of your Projects database filtered to: Status = In Progress AND Deadline = within 7 days, sorted by Deadline ascending. This surfaces the work that needs attention this week without requiring you to scroll through the full projects board.
Section 2: Active Clients
Insert a linked view of your Clients database filtered to Status = Active, displayed as a Gallery view. Each card shows the client name, primary contact, and a thumbnail — a clean visual reference for your current roster.
Section 3: Money Owed
Insert a linked view of your Payments database filtered to Payment Status = Sent or Overdue, sorted by Due Date ascending. The oldest outstanding invoices sit at the top — the ones most likely to need a follow-up.
Section 4: Upcoming Deadlines
Insert a Calendar view of your Projects database showing the current month. Deadlines, contract end dates, and project milestones appear visually on the calendar without requiring any separate scheduling tool.
The complete dashboard gives you four critical views on a single page. You open it once every morning, scan the four sections, and know exactly what the day requires — no inbox archaeology, no spreadsheet hunting, no mental overhead reconstructing your own workload.
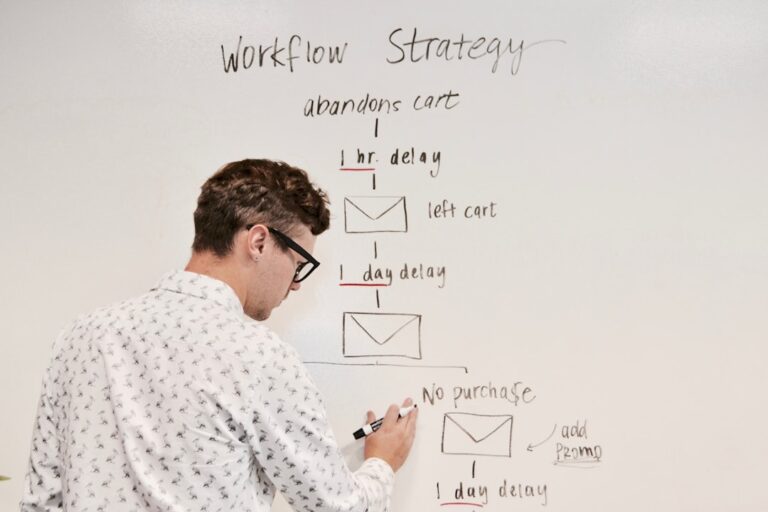
Step 5: Automate the Data Entry Layer
The dashboard is valuable by itself. It becomes close to maintenance-free when you connect it to your intake and invoicing workflows via automation. Two connections deliver the most time savings:
New Client Intake → Notion Record
When a prospective client fills out your intake form (Typeform, Tally, or Google Forms), a Zapier automation creates a new record in your Clients database automatically — populated with their name, email, company, and inquiry type. No manual data entry, and no prospect falls through the cracks.
Connect this to your Calendly workflow too: when a new client books a discovery call via Calendly, Zapier creates the Notion client record and a follow-up task in your Projects database simultaneously. By the time the call happens, the client already exists in your system. The client onboarding automation guide covers this exact Zapier sequence in detail.
Invoice Sent → Payment Record Created
Connect your invoicing tool (FreshBooks, Wave, or QuickBooks) to Zapier. When you send a new invoice, Zapier creates a corresponding Payment record in your Notion dashboard automatically — pre-populated with the client name, amount, invoice date, and a due date calculated from your payment terms. Your “Money Owed” view stays current without any manual logging.
For more complex automation logic — routing different client types to different onboarding tracks, or creating conditional project records based on intake form responses — Make handles multi-branch workflows more elegantly than Zapier’s linear model.
Notion Client Dashboard vs. Alternatives
| Tool | Best For Freelancers | Free Plan Limit | Doc + Database? | Client Sharing |
|---|---|---|---|---|
| Notion | All-in-one client OS | Unlimited (solo) | Yes — native | Yes — read-only pages |
| ClickUp | Task-heavy project tracking | Unlimited tasks | Yes (Docs add-on) | Guest access (limited free) |
| Airtable | Database-driven client tracking | 1,000 records/base | No — data only | Yes — shared views |
| Monday.com | Visual team-based projects | 2 seats only | WorkDocs (limited) | Yes — guest boards |
Making It a Daily Habit
The most beautifully built dashboard fails if you don’t open it. The system that works is the one you use — which means the dashboard needs to be frictionless to access and rewarding to check. Two habits make this work:
- Make it your browser homepage — Notion pages have shareable URLs. Set your Client Dashboard URL as your browser’s default new tab page. Every time you open a new tab, the dashboard is there.
- Run a 15-minute Monday review — scan each section, update statuses from the previous week, identify the three most important deliverables for the week ahead, and confirm every outstanding invoice has been followed up. That’s your week’s operational clarity, built in 15 minutes.
If you’re building this dashboard as part of a broader productivity system, the free Notion templates for solopreneurs guide covers additional templates that complement the client dashboard — including a Second Brain setup, a content calendar, and a personal finance tracker that plugs naturally into the Payments database you’ve already built.
- Build three linked databases — Clients, Projects, and Payments — then create a master dashboard page with filtered views from each; this architecture gives you a live operational system rather than a static page.
- Notion’s free plan supports this entire system for solo users with no record caps, no feature walls, and shareable pages for client-facing portals at no extra cost.
- Automate the data entry layer with Zapier: new intake form submissions create client records automatically, and new invoices sent from your billing tool create payment records — the dashboard stays current without manual logging.
- Make the dashboard your browser homepage and run a 15-minute Monday review; the system that gets used every day beats the more sophisticated system that gets checked once a week.
- Use each client database record page as a full client workspace — meeting notes, briefs, and reference files live in the page body, making every piece of client information one click from your dashboard.
Frequently Asked Questions
Do I need a paid Notion plan to build a client dashboard?
No — Notion’s free plan is entirely sufficient for this setup. The free plan includes unlimited pages and blocks for individual users, full database functionality including relations and rollups, multiple views per database (table, board, calendar, gallery), and shareable pages with read-only access for clients. The only feature you’ll need a paid plan for is inviting collaborators to edit the workspace — if you work solo or only need clients to view (not edit) their pages, the free plan covers everything in this guide indefinitely.
How long does it take to build this Notion client dashboard?
Budget 2–3 hours for the initial build: approximately 30 minutes per database (including adding properties and creating views), 30 minutes to build and configure the dashboard page, and 30–60 minutes to populate your existing clients and active projects. The automation setup (Zapier connections) adds another 1–2 hours if you set that up immediately. Most freelancers find the investment pays off within the first week — the time saved reconstructing their workload from scattered sources adds up faster than expected.
Can I share my Notion client dashboard with clients?
Yes — Notion allows you to share any page with a public link, giving viewers read-only access without a Notion account. The most practical client-sharing approach is creating a dedicated view of the Projects database filtered to each client’s records, then sharing that specific page URL with the relevant client. They can see their project status, deliverable progress, and upcoming milestones without seeing your other clients’ data or your internal notes. This gives you a professional client portal without any additional software.
What’s the difference between building this in Notion vs. Airtable?
Airtable has a stronger relational database foundation and more sophisticated filtering, sorting, and formula options — it’s the better choice when your client data is complex, high-volume, or needs to integrate with external tools via deep API connections. Notion’s advantage is its hybrid nature: documents and databases coexist in the same workspace, so client notes, meeting summaries, and project briefs live alongside the structured data rather than in a separate linked tool. For most freelancers whose workflow involves as much writing and note-taking as data tracking, Notion’s hybrid model reduces tool-switching friction meaningfully.
How do I keep the dashboard from becoming outdated?
The dashboard stays accurate through two mechanisms: automation (Zapier keeping data entry current without manual work) and ritual (a weekly review updating statuses that automation can’t infer). For statuses that require human judgment — moving a project from “In Review” to “Delivered,” marking an invoice as paid after confirming receipt — build those updates into your Monday 15-minute review rather than expecting automation to handle them. The combination of automated data capture and a consistent weekly update ritual is what separates a dashboard that stays useful from one that becomes a snapshot of how things were three weeks ago.


4 Comments