Automate Client Onboarding Without Coding in 2026
Every freelancer and solopreneur knows the feeling: you close a new client, feel that brief rush of excitement, and then immediately face two hours of manual admin. Copy their details from your intake form into your project management tool. Send the contract. Draft the welcome email. Create the folder structure. Set up the first milestone. It’s repetitive, it’s error-prone, and it happens every single time — which means every new client costs you a chunk of the week you were hoping to spend doing actual work.
The good news is that the entire onboarding sequence can be automated end-to-end, and you don’t need to write a single line of code to make it happen. Here’s exactly how to build it.
What a Fully Automated Client Onboarding Sequence Looks Like
Before touching any tools, it helps to map the sequence you’re automating. A complete client onboarding flow typically has five stages:
- Intake: Client fills out a form with project details, budget, timeline, and contact info
- Contract: A contract is generated and sent for e-signature
- Welcome communication: Client receives a personalized welcome email with next steps
- Project setup: A workspace is created in your project management tool with the client’s details pre-filled
- Scheduling: A kickoff call is booked automatically or a calendar link is sent
Doing this manually takes 45–90 minutes per client. Automated, it takes zero minutes — the sequence fires the moment your intake form is submitted, and by the time you finish your coffee, the client already has their contract and welcome email waiting.
Choosing Your Automation Engine: Zapier vs. Make
The two tools that power most no-code client onboarding automations are Zapier and Make (formerly Integromat). Both connect hundreds of apps without coding, but they take different approaches.
| Feature | Zapier | Make |
|---|---|---|
| Ease of use | Very beginner-friendly, linear flow | Visual canvas, steeper curve but more powerful |
| Free plan | 100 tasks/month, 5 Zaps | 1,000 ops/month, unlimited scenarios |
| Paid plans | From $19.99/month | From $9/month |
| App integrations | 6,000+ apps | 1,500+ apps |
| Multi-step automations | Yes (paid plans) | Yes (all plans) |
| Best for | Beginners, simple linear flows | Complex logic, branching, data transformation |
**For most solopreneurs building their first onboarding automation, start with Zapier.** It’s faster to set up, the interface is more forgiving when something goes wrong, and the app library is larger. Once you’ve outgrown the basics or need conditional logic (“if the project type is branding, create a different template”), Make’s visual canvas becomes worth the learning investment.
The Tools You’ll Need Before You Build
Your automation connects existing tools — it doesn’t replace them. Before building, make sure you have each of these components in place:
- Intake form: Typeform, JotForm, or Google Forms. Typeform works best with Zapier natively; Google Forms is free and also integrates cleanly.
- Contract and e-signature: DocuSign, HelloSign (now Dropbox Sign), or HoneyBook. HelloSign has a Zapier integration that handles automated contract sending well.
- Email: Gmail or any SMTP provider. You’ll send the welcome email through this.
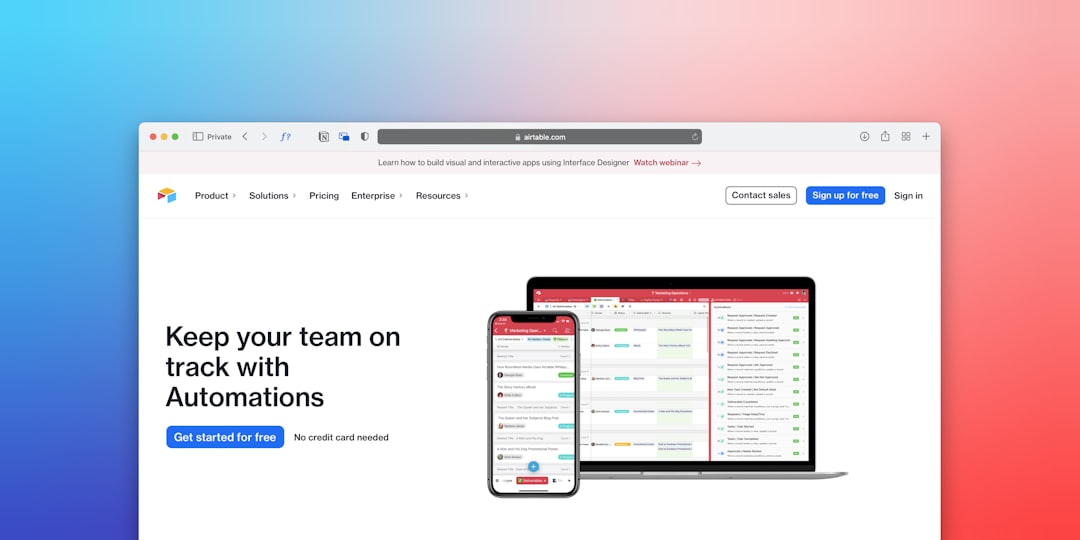
- Project management: Notion, ClickUp, Airtable, or Monday.com — all integrate natively with both Zapier and Make for automatic project or task creation.
- Scheduling: Calendly for sending a kickoff booking link or triggering a meeting invite automatically.
You don’t need all five immediately. Start with intake → email → project setup. Add contracts and scheduling once the core flow is working.
Step-by-Step: Building the Automation in Zapier
Step 1: Set Your Trigger — New Intake Form Submission
Log into Zapier and create a new Zap. Choose your intake form tool as the trigger app (Typeform, JotForm, or Google Forms) and select the trigger event “New Response” or “New Form Submission.”
Connect your account, select the specific form, and run a test to pull in a sample submission. This sample data is what you’ll use to map fields throughout the rest of the Zap — so make sure your test submission has realistic data in every field (client name, email, project type, etc.).
Step 2: Send the Contract Automatically
Add an action step using your e-signature tool. In HelloSign (Dropbox Sign), the action is “Send Signature Request.” Map the fields from your intake form: the client’s name and email address populate the contract recipient fields automatically.
You’ll need a pre-built contract template in HelloSign with merge fields (placeholders like {{client_name}} and {{project_description}}) that Zapier fills in from the form data. This is where the magic is — the contract generates itself, pre-filled with the client’s specific details, and lands in their inbox for signature without you touching anything.
Step 3: Send the Welcome Email
Add a Gmail (or Email by Zapier) action step. Write your welcome email template directly in Zapier, using the form data to personalize it. At minimum, include:
- The client’s first name (pulled from the form)
- A brief confirmation of what they’ve signed up for
- What happens next (e.g., “Your contract is on its way — once signed, you’ll receive a link to book your kickoff call”)
- Your contact information and response time expectations
A personalized welcome email that arrives within two minutes of form submission makes a striking first impression — especially compared to the industry norm of waiting 24–48 hours.
Step 4: Create the Project Workspace
This step varies by your project management tool, but the logic is the same across all of them: create a new item, record, or page using the client’s form data.
- Notion: Use the “Create Database Item” action. Map client name, email, project type, and start date to the corresponding properties in your client database.
- ClickUp: Use “Create Task” or “Create List” — create a new task per client, or a full list if each client gets their own space.
- Airtable: Use “Create Record” in your Clients table. Airtable’s structure is particularly clean for this because you can auto-populate linked records and formula fields from the moment the record is created.
- Monday.com: Use “Create Item” in your client management board.
Once this step is live, every new client has a project workspace waiting for them before you’ve even seen their name.
Step 5: Send the Kickoff Scheduling Link
Add a final step that includes your Calendly link for the kickoff call. You can include this in the welcome email from Step 3, or send it as a separate follow-up email triggered by a delay (e.g., “send this 30 minutes after the welcome email”).
Calendly’s Zapier integration also supports creating invitees directly, which means you can pre-load the client’s details into Calendly so the booking page feels personalized when they arrive.
Testing Your Automation Before It Goes Live
Before letting your first real client trigger this sequence, run three complete end-to-end tests:
- Happy path test: Submit a complete, correctly filled form and verify every step fires correctly — contract arrives, welcome email sends, project is created.
- Edge case test: Submit a form with an unusual project type, long client name, or special characters in the email field. Automation breaks most often at the edges.
- Delay test: If you’ve added any delay steps, verify the timing is working as expected. A “30-minute delay” that accidentally fires immediately is a common Zapier misconfiguration.
Maintaining and Scaling Your Onboarding Automation
Once your automation is live, the maintenance overhead is minimal — but not zero. A few things to monitor:
- App integration updates: When a tool you’ve connected updates its API, connected Zapier steps can break. Check your Zap’s task history weekly for the first month, then monthly after that.
- Contract template changes: Whenever you update your contract template, verify the merge fields still match what Zapier is sending. A renamed field in HelloSign can silently break the entire contract step.
- Form field changes: Adding a new question to your intake form is great — just make sure to map the new field in your Zap before the next client comes through.
As your business grows, you can layer on additional automation steps: automatic invoice creation in FreshBooks or QuickBooks, a Slack notification to yourself when a new client onboards, or a follow-up email sequence triggered when the contract is signed. The foundation you build now scales with you.
- A fully automated client onboarding sequence covers intake, contract, welcome email, project setup, and scheduling — all triggered by a single form submission.
- Zapier is the best starting point for most solopreneurs; Make offers more power for complex conditional logic once you’ve outgrown the basics.
- Tools like Notion, ClickUp, Airtable, and Monday.com all integrate natively with both platforms for automatic project workspace creation.
- Always run three end-to-end tests before going live — happy path, edge case, and timing — to catch the most common failure points.
- Start with the core three steps (intake → email → project setup), get them working reliably, then layer on contracts and scheduling.
Frequently Asked Questions
Do I need a paid Zapier plan to automate client onboarding?
The free Zapier plan supports up to 5 Zaps with single-step automations and 100 tasks per month. A multi-step onboarding sequence (form → contract → email → project creation) requires a paid plan, which starts at $19.99/month. Make’s free plan allows unlimited multi-step scenarios with 1,000 operations per month, making it the better option if budget is a constraint and you’re willing to invest time in learning its interface.
What’s the best intake form tool to use with Zapier?
Typeform and JotForm both have native, well-maintained Zapier integrations and are the most reliable choices. Google Forms works through a third-party integration that is functional but occasionally laggy. If you’re already paying for a CRM or project tool that includes forms (HoneyBook, Dubsado), use those — they often have built-in onboarding automations that don’t require Zapier at all.
Can I automate onboarding if I use Notion as my project management tool?
Yes — Notion has a solid Zapier integration. You can automatically create a new database entry for each client, populate properties (name, email, project type, start date, status), and even apply templates to the new page if you use Notion’s template feature. The main limitation is that Zapier can’t trigger automations inside Notion itself (like setting a reminder or running a Notion formula) — it can only create and update records.
How do I handle clients who don’t sign the contract right away?
Most e-signature tools (HelloSign, DocuSign) have their own built-in reminder sequences — configure these directly in the contract tool rather than trying to build reminders in Zapier. Set an automatic reminder at 24 hours and 72 hours after sending. For clients who still haven’t signed after a week, a personal follow-up from you is more effective than another automated nudge.
Is it safe to send contracts automatically without reviewing each one?
Yes, provided your contract template is well-constructed and your intake form captures the right information. The key is building a solid template with clear merge fields and testing it thoroughly with edge-case inputs before going live. Many solopreneurs have processed hundreds of automated contracts without issue. The risk isn’t in the automation — it’s in a poorly built template or a form that allows ambiguous input. Invest the time upfront to get both right.
Related Reading
- How to Automate Content Creation for Small Business via BizRunBook
- Freshworks CRM vs Pipedrive: Small Teams Guide 2026 via SaaSSleuth